21 November 2026 · 5 min read
Lighting Contrast and Ratios Without the Guesswork
Understand key and fill, measure a useful lighting ratio, and avoid mixing up lamp output with the brightness on a face.
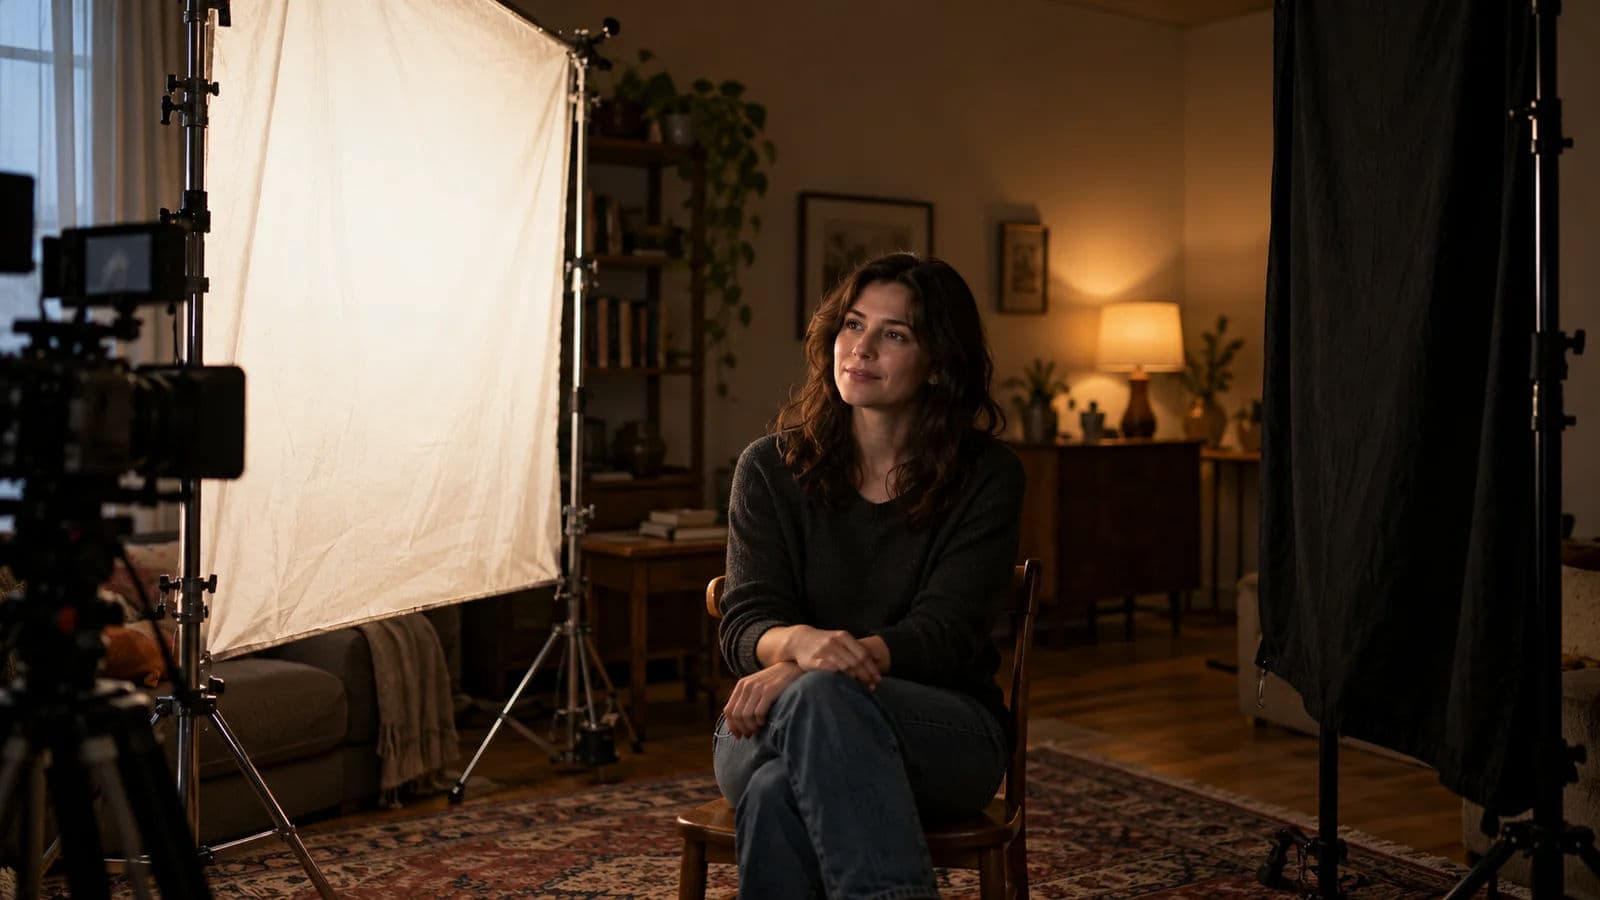
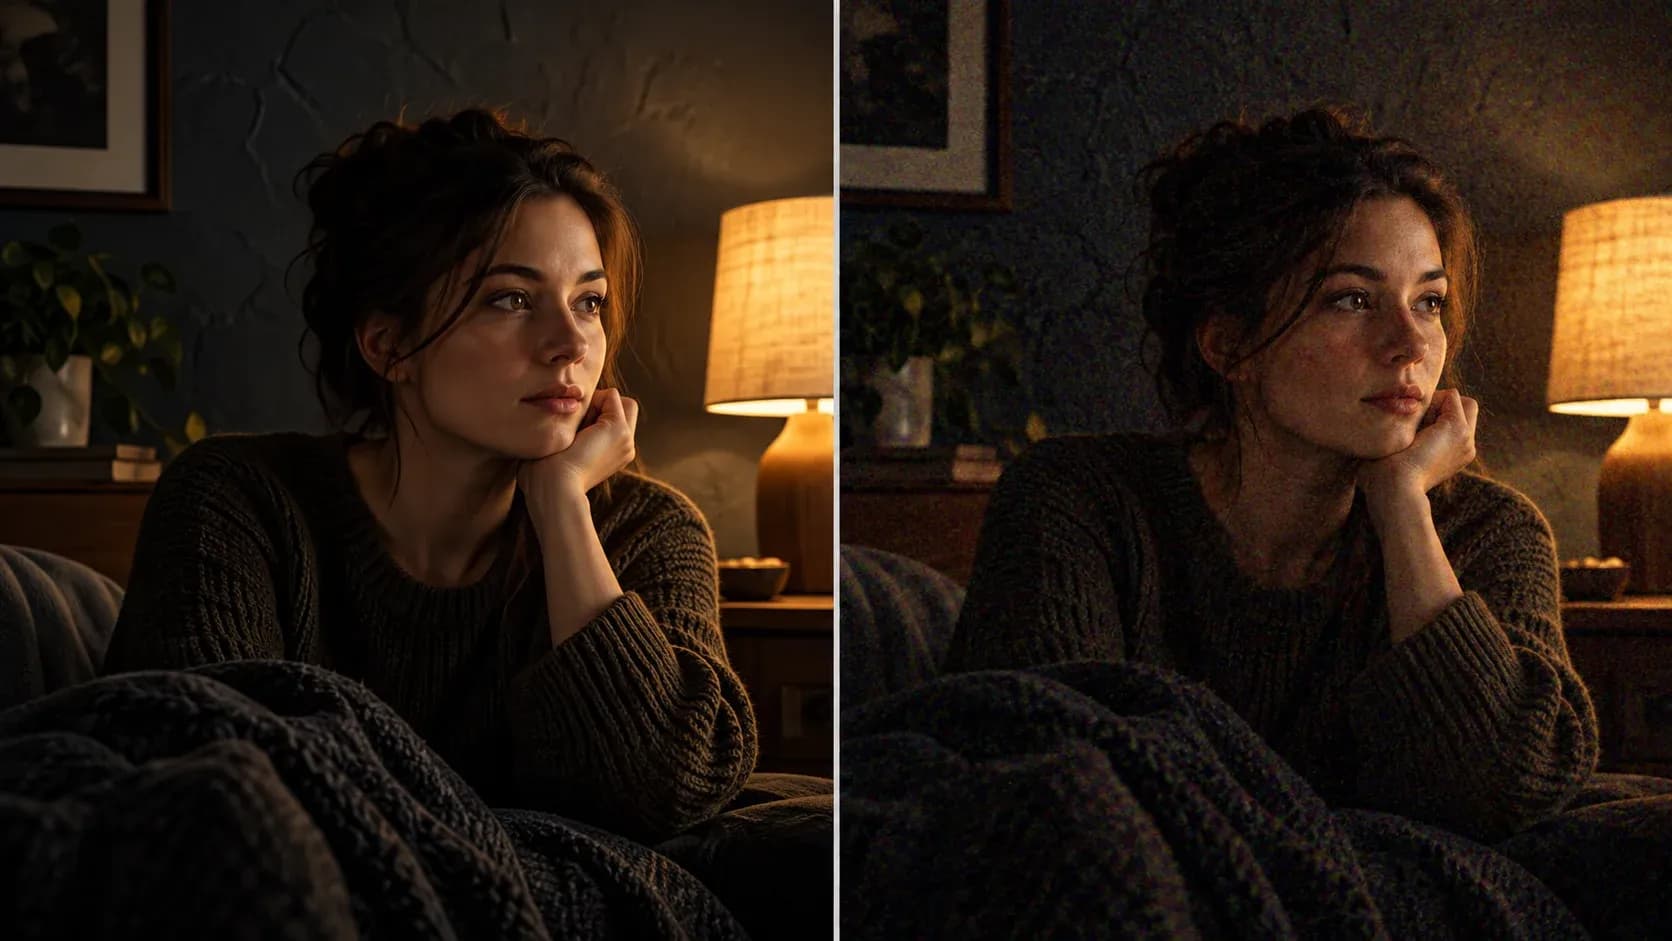
One side of the face looks bright. The other holds a soft shadow. The light feels natural, but the difference gives the image shape.
Lighting contrast describes that difference between bright and dark areas. A lighting ratio gives you a way to describe a measured relationship.
The numbers can help you repeat a setup. But first you need to agree what those numbers compare. Otherwise two people can mean different things by the same ratio.
Start with key and fill
The key is the main light shaping the subject. The fill reduces the depth of the shadows.
Fill can come from another lamp, a white wall, a reflector, or the room itself. It doesn't have to be a separate fixture.
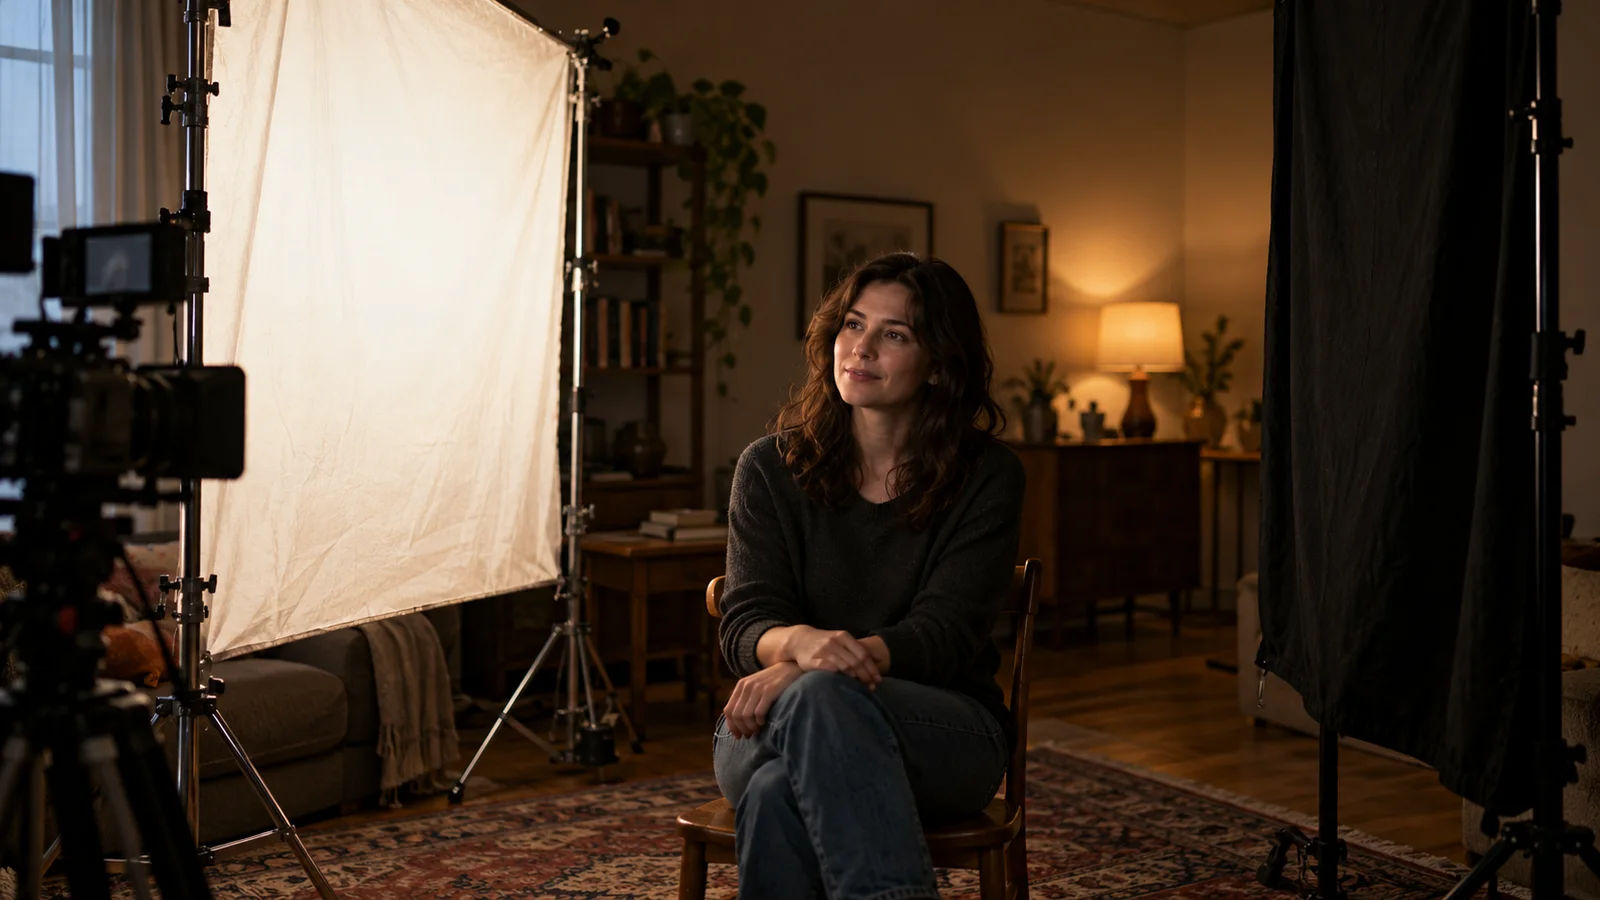
A black cloth can reduce reflected fill. That is negative fill, and it can help when pale walls make a face look too even.
Our guide to using available light explains how this helps in an ordinary room.
Say which ratio you mean
One convention compares the key contribution with the fill contribution. Another compares the total light on the bright side with the shadow side.
Those are different measurements. Suppose the fill contributes one unit everywhere, while the key adds two units to the lit side.
The key to fill contribution is two to one. But the bright side receives three units in total, against one on the shadow side.
So always write the measurement method beside the number. The explanation matters more than a familiar label.
Stops give you a simple scale
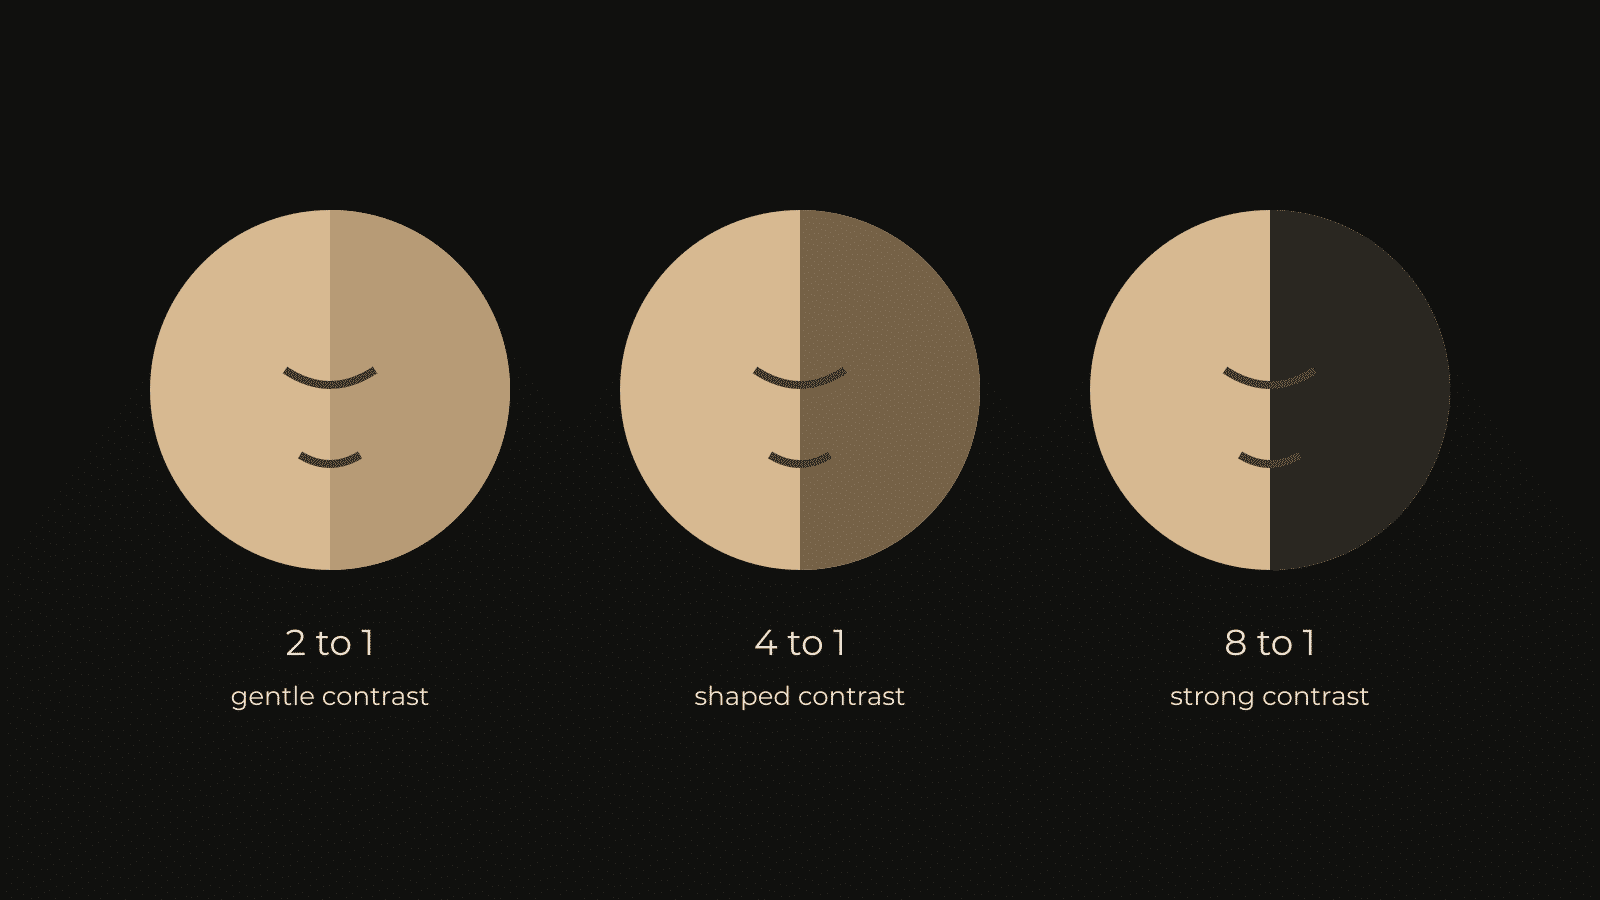
One stop means twice as much light. Two stops mean four times as much. Three stops mean eight times as much.
If the measured bright side is one stop above the shadow side, their relationship is two to one. Two stops gives four to one.
That doesn't tell you whether the face looks pleasant. Skin, wardrobe, background, light direction, and the camera's tone curve still affect the picture.
A ratio is a repeatability note, not a recipe for a particular emotion.
Measure the light rather than the dimmer
A lamp at fifty per cent doesn't guarantee half the light on a face. Different fixtures and dimmers behave differently.
Distance, angle, diffusion, and bounce change what reaches the subject. Moving a lamp can change the ratio without touching its output.
Use an incident light meter if you need repeatable lighting measurements. Decide whether you're isolating sources or comparing the two sides of the subject.
Keep the meter position and method consistent. Record the setup so that another person can repeat it later.
A camera view is useful, but different
Waveforms and false colour can help compare image brightness. However, they show the camera's rendered response, not a direct map of light intensity.
A dark shirt reflects less than a pale shirt under the same light. A profile or viewing transform can also change the displayed difference.
So use similar surfaces when comparing areas. Keep the camera settings fixed, then check the face itself.
If you don't have a meter, describe what you changed honestly. Don't attach an exact measured ratio to a picture judged only by eye.
Build a small test in a room
- Seat someone beside a window or a soft lamp.
- Keep the camera, subject, exposure, and white balance fixed.
- Record the starting frame.
- Add a white reflector on the shadow side.
- Record again, then replace it with black fabric.
- Compare the face and the background across all three clips.
Keep the supports stable and clear of the subject. A useful lighting test should be simple to repeat without anyone holding an awkward load.
Notice how the shadow changes without moving the key. The room's reflected light may be doing more work than you expected.
Match the contrast to the scene
A soft conversation may benefit from readable shadows. A person hiding information may suit a darker face. Neither choice is a fixed rule.
Ask what the viewer needs to see. Eyes, gestures, and subtle expressions can disappear if the contrast becomes too strong.
Darkness also has to survive the viewing conditions. A scene that works on a good monitor may become unreadable on a bright phone.
Check a short export before committing to a very low shadow level.
Keep the reverse angle in the same world
When the camera turns around, don't copy lamp positions blindly. Think about where the light seems to come from in the room.
One person's key may become the other person's edge light. The exact setup can change while the apparent source stays believable.
Take notes about distance, height, diffusion, and fill. A phone photograph can help, provided everyone agrees it may be kept.
ARRI's lighting handbook offers further practical examples. Use such references to plan tests, then judge your own frame.
Record the decision you actually made
Write down the camera mode and viewing transform beside the lighting notes. Keep a reference still with the scene.
If the setup was judged by eye, say that. If it was measured, record the method and the meter readings.
Then the next setup starts with something useful. You can repeat the look, or change it deliberately when the story moves.