4 November 2026 · 5 min read
What Is a LUT and When You Should Not Use One
A LUT changes colours using a fixed set of values. Learn the difference between a camera conversion and a creative look, and use either without doubling the effect.
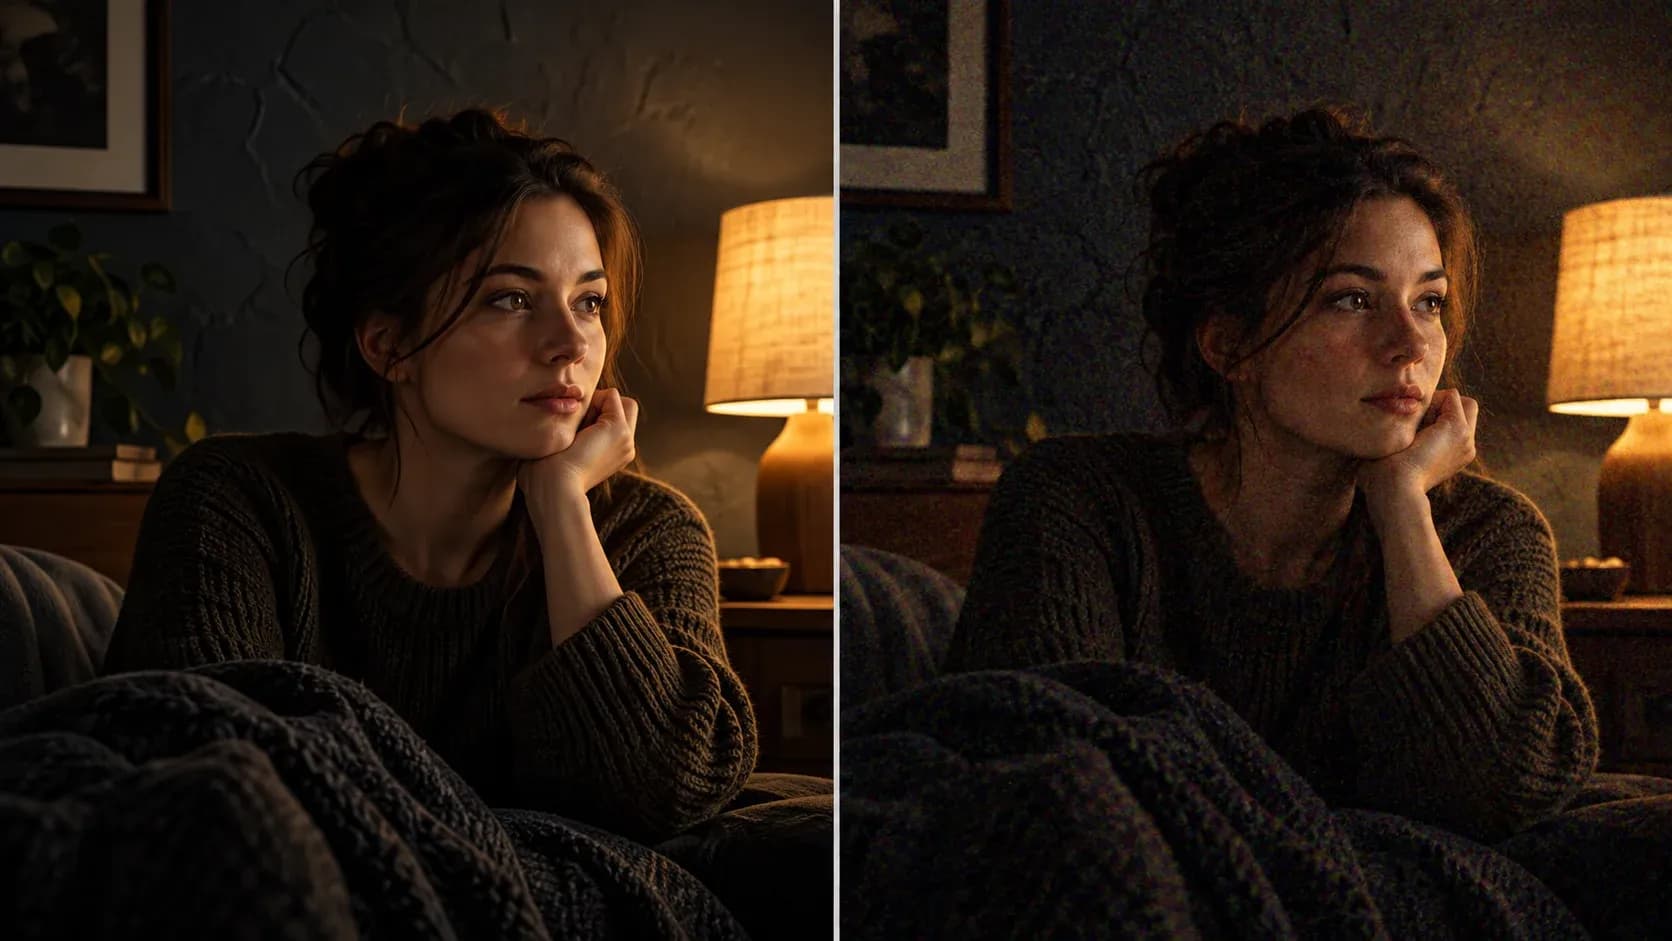
You apply a LUT, and the image changes at once. The sky gets richer, the shadows deepen, and skin turns orange. That last part wasn't in the plan.
A LUT is a lookup table. It maps incoming colour values to other values. The table follows its rules, whether your shot suits them or not.
That makes a LUT useful for repeatable changes. It also makes it easy to misuse. The file doesn't know where the face is or what you meant.
Two jobs often share one name
A technical LUT can convert footage between defined colour encodings. For example, it can help turn a camera's log image into a viewable picture.
A creative LUT gives the image a particular treatment. It may warm highlights, cool shadows, or change contrast.
Some files combine those jobs. So read the description before applying one. Find out what input it expects and what output it produces.
ARRI's LUT Generator asks for the source, the conversion, and the destination before it builds a table. The correct camera format matters as much as the file itself.
A LUT doesn't fix the light
Imagine a face under a green lamp and a blue window. A warm look may change both, but it won't decide which should look neutral.
Start with exposure and white balance. Then compare neighbouring shots, so that the scene feels like one place.
Once that balance is close, try a creative look. You can make a better decision because you're judging the look rather than a problem underneath.
Our guide to colour grading without a heavy filter follows that order.
Know what your camera recorded
Log footage can look flat before a viewing transform. Standard footage may already have its contrast and colour shaped in the camera.
If you add a log conversion to standard footage, the picture can break. If you add the same conversion twice, contrast can become harsh.
Don't assume that a flat shot must be log. Fog, low contrast lighting, or an accidental exposure can look flat as well.
Check the camera settings or recording notes. If those are missing, compare carefully and avoid making a confident guess.
Why one file doesn't suit every log format
Log names describe different curves, and camera gamuts can differ too. A table built for one combination may give another combination strange results.
Even formats from the same maker can need different treatment. That same ARRI tool builds tables for LogC3 only, and it points LogC4 footage to a separate package.
You don't need to learn every curve by heart. You do need the source name, its expected gamut, and a supported conversion.
Keep that information beside the footage, not only in memory.
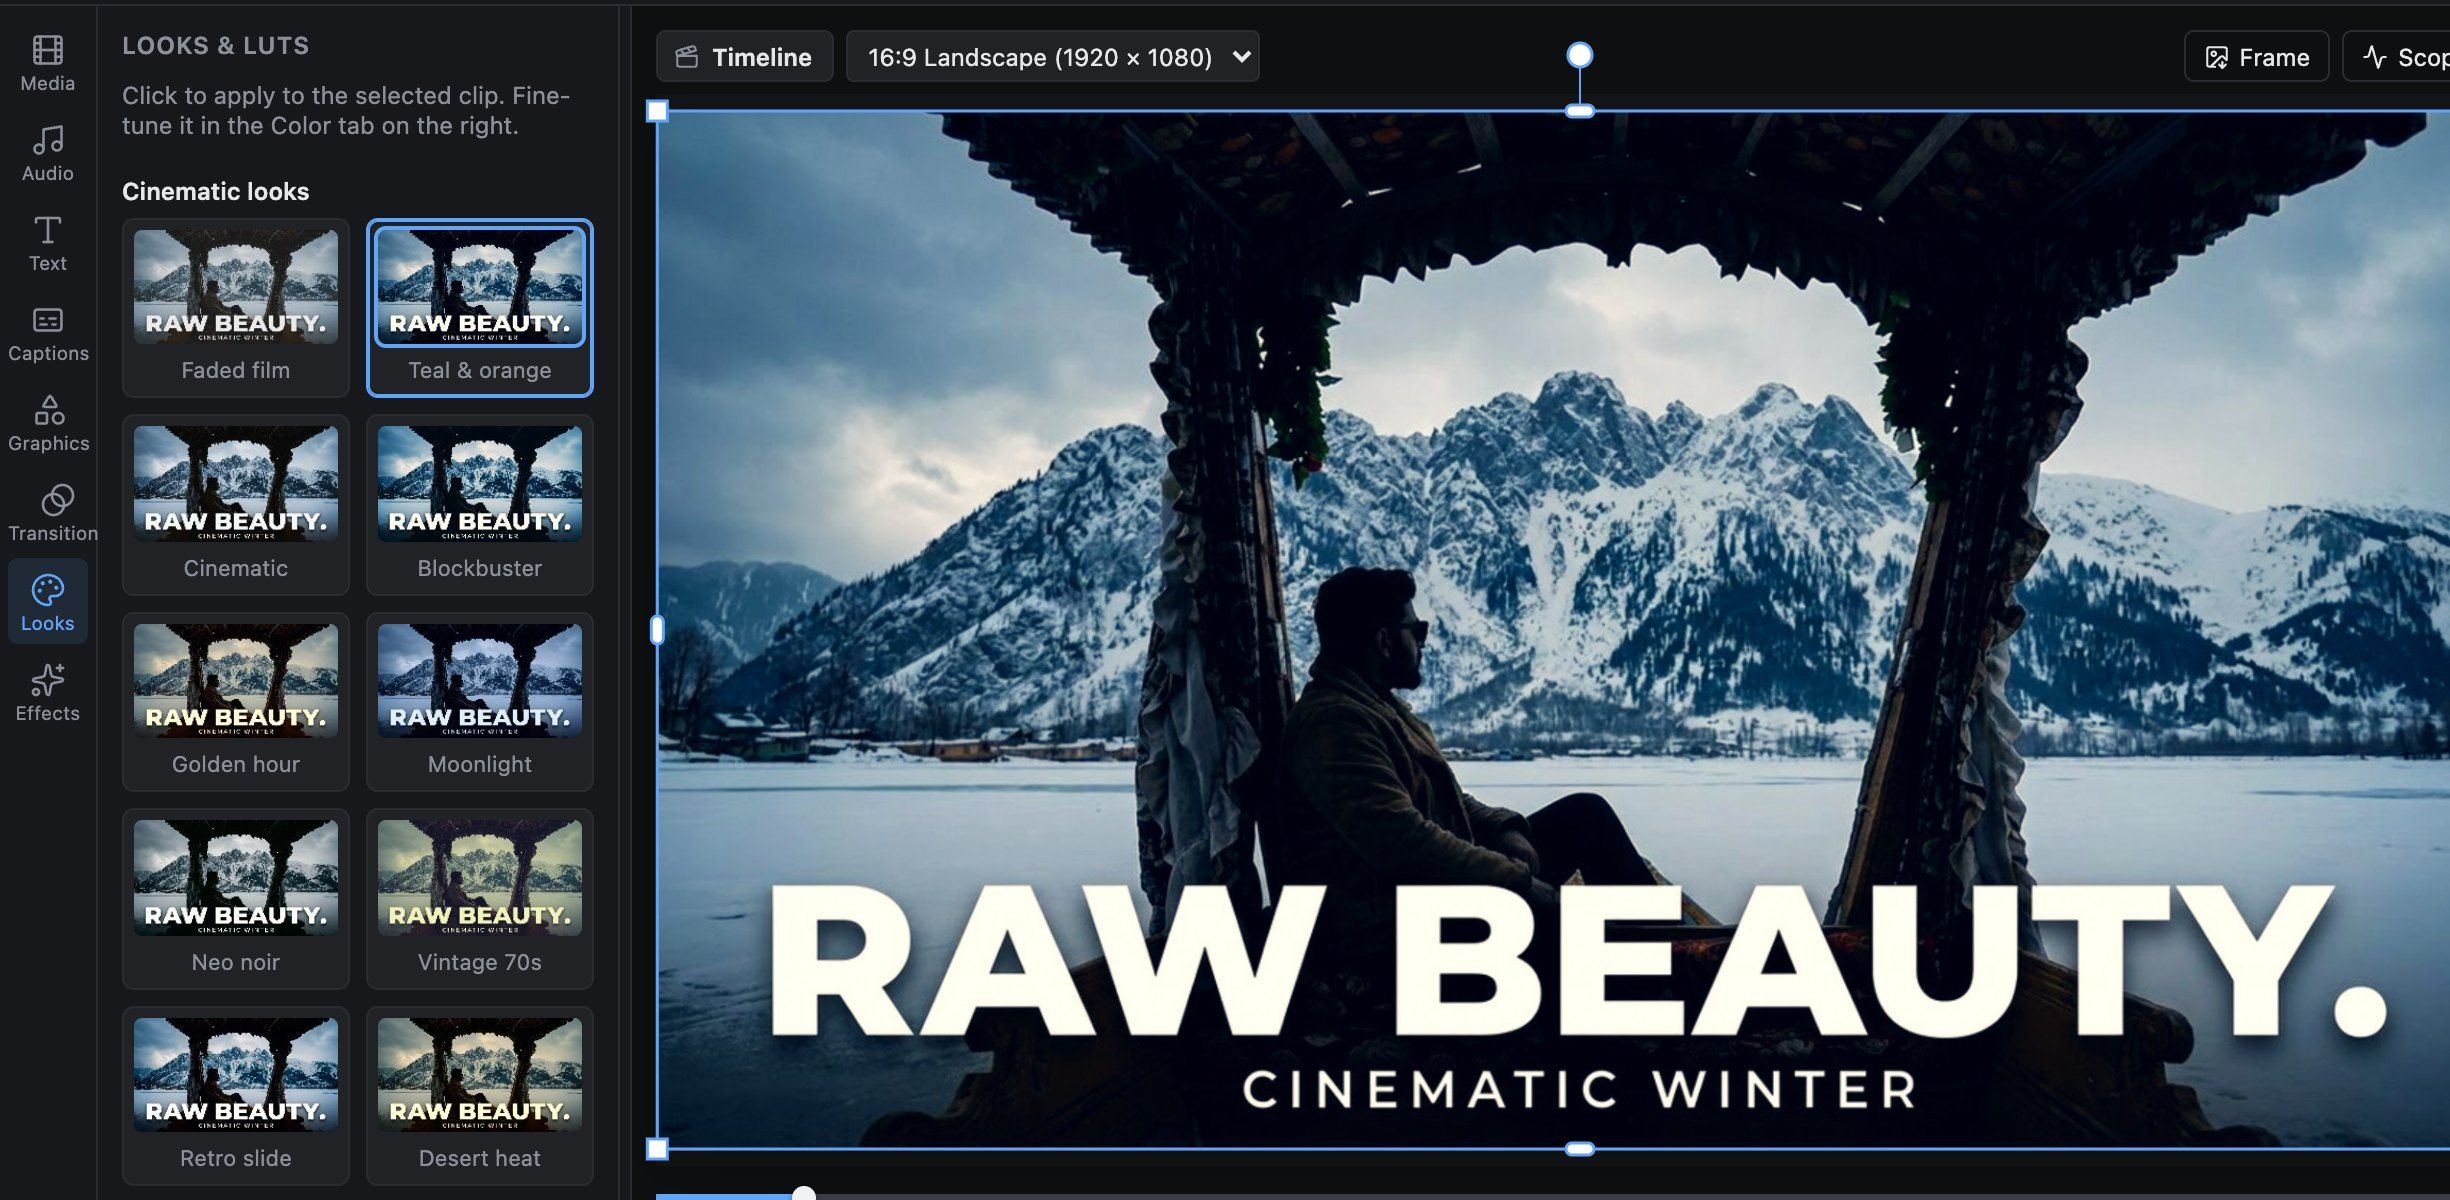
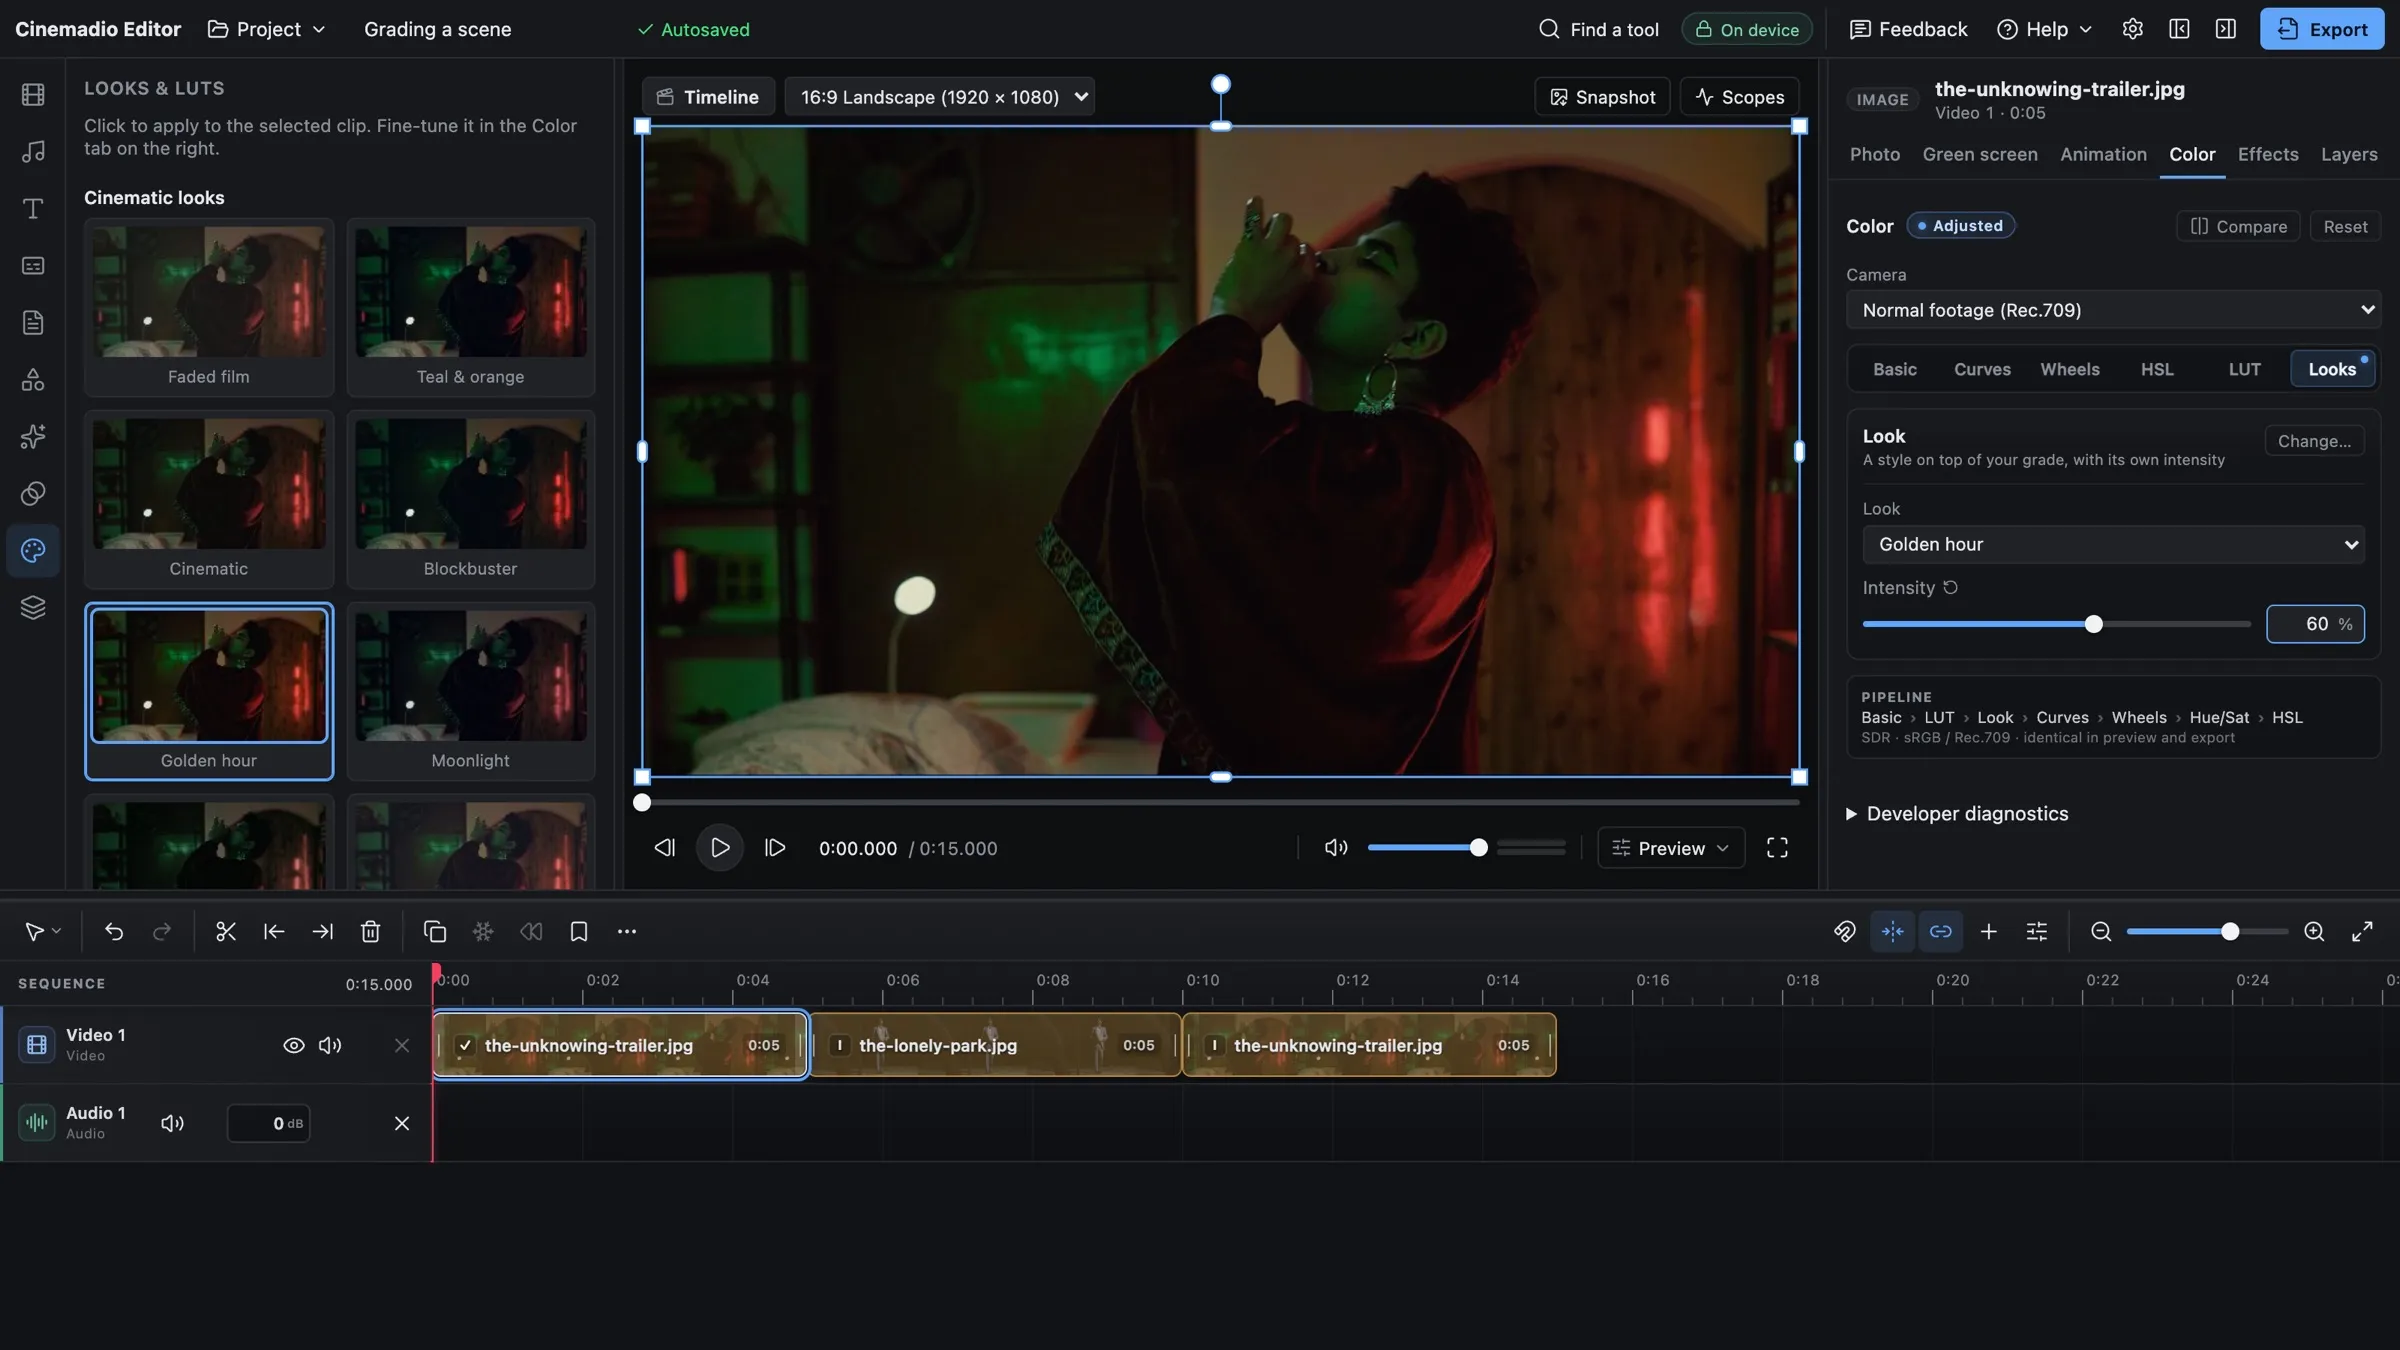
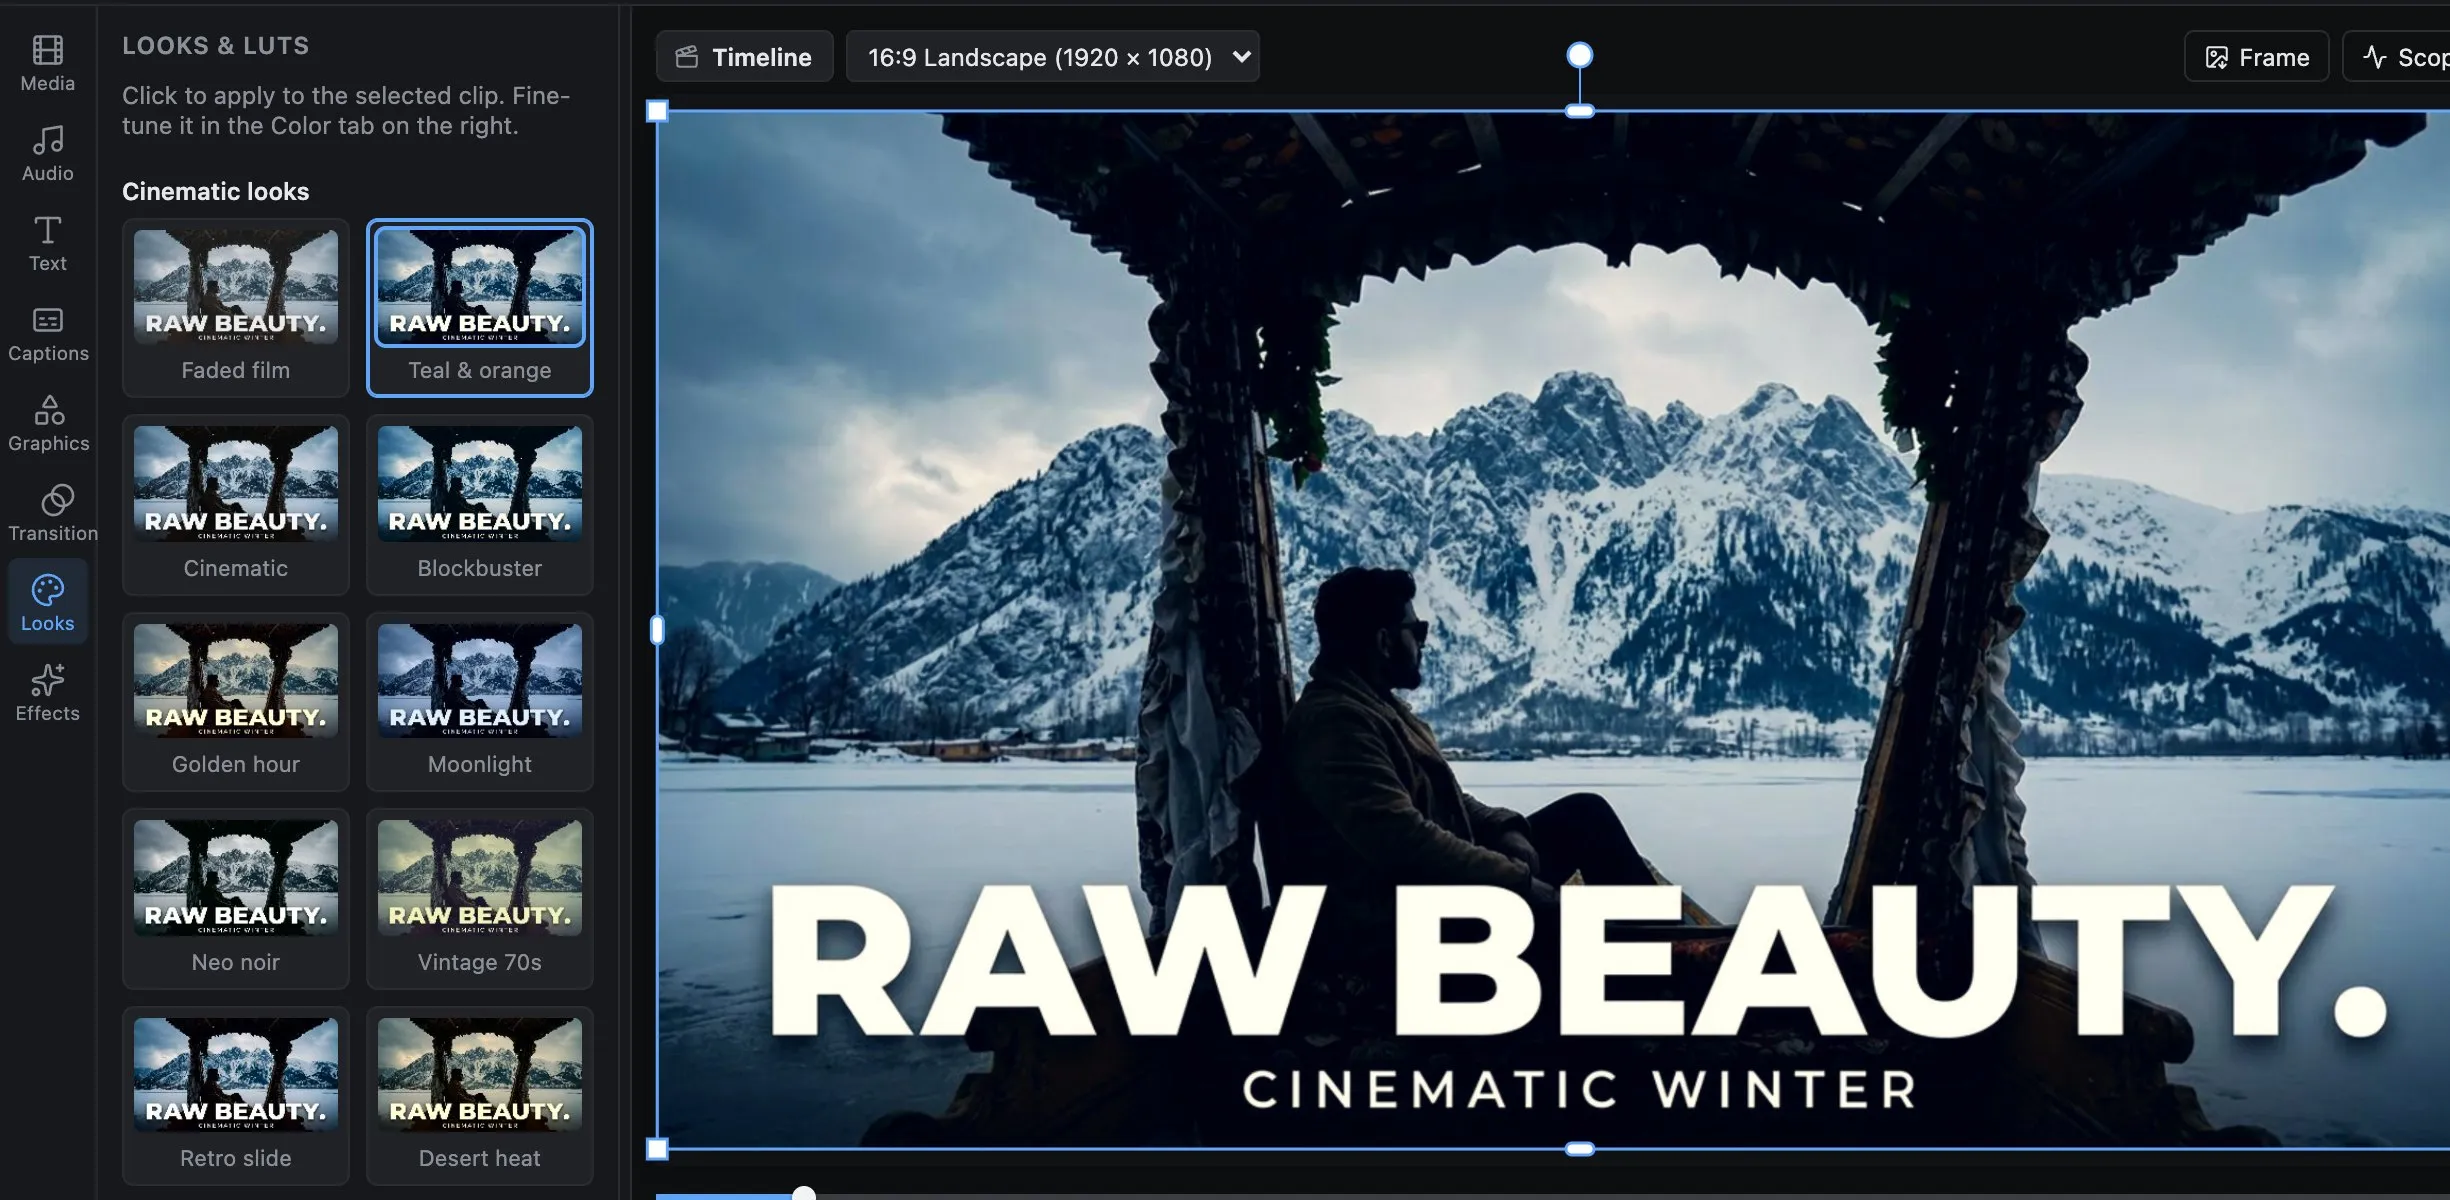
Use a LUT in Cinemadio Editor
- Select a video or image clip.
- Open Filters on the left.
- Find My LUTs, then choose Import files.
- Select a supported .cube file from your computer.
- Apply it, then adjust its strength in the Color tab.
- Switch it off and on while checking faces and highlights.
A single imported LUT applies to the selected clip. If you import several, choose the one you want from the library.
The browser stores the library locally. A project keeps the table it uses, so that the grade doesn't depend on the library entry remaining there.
Only import files you have permission to use. A free download doesn't always include permission to redistribute the LUT pack.
Don't stack conversions without a reason
The editor also provides camera input conversions. A camera conversion and a creative LUT can work together if their expected formats match.
But a LUT that already converts log may duplicate that first stage. Check the file's instructions before leaving both enabled.
A smaller strength setting doesn't correct the wrong conversion. It can simply mix the wrong result with the original.
If the image looks unusual, remove the creative treatment first. Then check the camera input, exposure, and white balance in that order.
Watch the whole shot
A look can suit one frame and fail a moment later. A person may walk into sunlight, or a bright sign may enter behind them.
Watch skin, neutral objects, skies, and deep shadows. Look for clipped colour, strange edges, and gradients that turn into bands.
Then compare the shot with the one before it. A striking individual image can still make a sequence feel uneven.
Keep a small adjustment rather than forcing a dramatic difference. The viewer should follow the scene without stopping to study the grade.
When you should leave it off
Leave a LUT off when you don't know its expected input. Leave it off when a good balance already serves the scene.
Also leave it off if the treatment hides useful detail. A look that turns a face into an orange patch hasn't improved the image.
For interviews, simple correction may be enough. For a mixed camera scene, careful matching may matter more than a strong style.
There is no prize for using a LUT on every project. It is one tool, and sometimes another tool gives more control.
Build a small comparison
Choose three shots from the same scene. Include a face, a wide view, and a difficult highlight. Balance them before trying any look.
Now apply the LUT and reduce its strength. Compare the sequence with the treatment switched off. Keep notes about what improved and what became worse.
Try that in the Cinemadio Editor with a short clip first. A useful LUT should help the footage you actually have.